Wanting to create a new look, categories or move your menu around a little? Well, this is how you do it!
From the backend, navigate to Manage Menu > Menu Sections
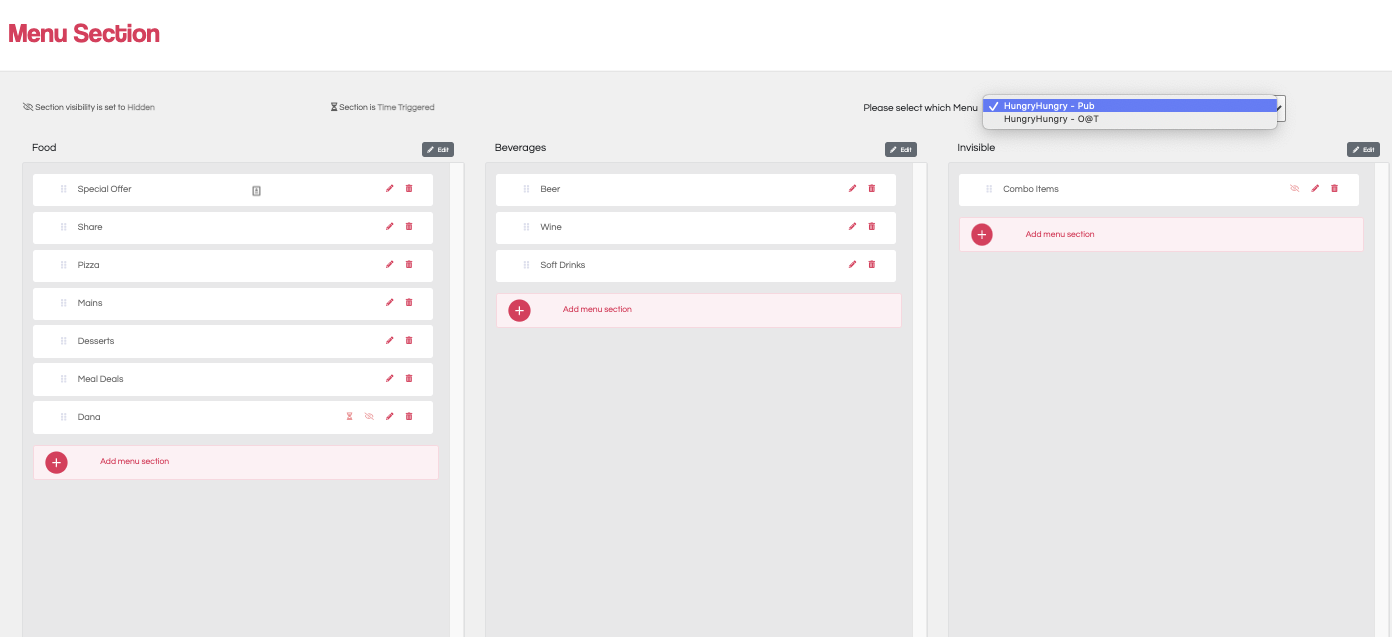
This will bring you to your menu layout and menu sections.
Now... a lot can be done from this one simple page. 
Restructuring the layout

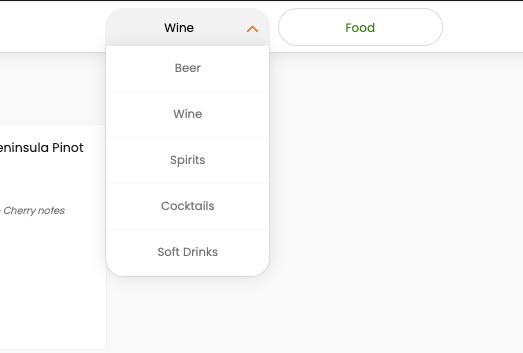
If you have a particularly LARGE menu. You can use our Categories feature to help break up the menu. These help to seperate your menu into groups and give the customer an easier time navigating the menu

If you have multiple locations/sites ( ie. Order@Table, PickUp, Delivery, etc) you will have multiple menus to arrange. You can navigate these by selecting the 'Please Select which Menu' bar above the menu sections themselves.

Rearrange the order of each section.
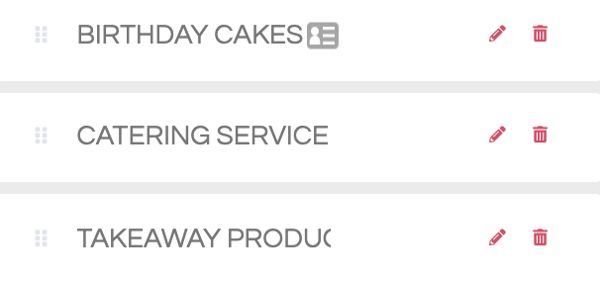
Click on the 6 Dots on the left and drag it to it's new location.

Hide & Edit Menu Sections!
Use the 'hide category' to toggle categories (includes all menu sections within that category) as hidden quickly.
Use the tool icons within the menu section to edit the section description, image, items, and time triggers.
⌛️Hourglass Icon = A Time Trigger is set for this section
✏️ Pencil Icon = Click here to edit this menu section.
👁️🗨️ Eye Icon = This menu section is hidden.

Tip: If you are POS integrated, your menu sections should be created/updated in your POS prior to importing to HungryHungry. Once you import to HungryHungry, you can then add time triggers, a description and images.
⚠️ Please remember to always hit SAVE after you've made changes to each menu! Otherwise your changes will be lost on exit. ⚠️
🔥Hot Tips:
- You should only have 3 menu category's
- A great example is > Food > Non-Alcoholic Beverages > Alcoholic Beverages
- Move your menu into an order that 'makes sense' such as > Starters > Mains > Sides > Desserts
- Use your layout to promote certain item sections by moving these to the top and/or front
Want to learn more or have feedback for us? Say hello!
💬 CHAT: Chat with us online! You can find our ChatBox, 'Dave' in the bottom right-hand corner of our website.
📞 PHONE: AU +61 3 7036 0754 / NZ +64 4 831 9400
🗒️ Form Submission: https://help.hungryhungry.com/kb-tickets/new
✉️ EMAIL: help@hungryhungry.com
