1. Create the size
Go into Manage Menu and select Sizes from the drop down list.
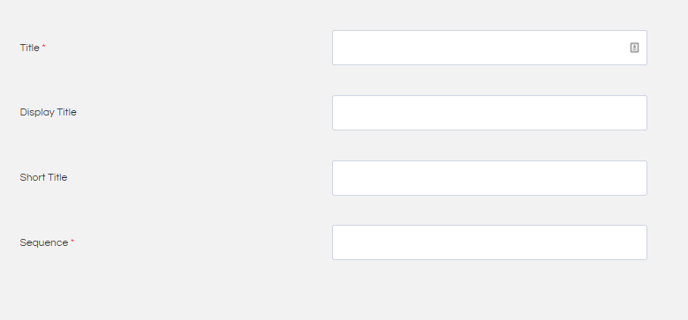
From here, you can create what ever size comes to mind and assign it a name, display name and short name. By filling in the short name, this will apply an abbreviation of the size on the printer docket (Small -> Sml). If you don't want to apply a short name, leave the box blank.
If you have multiple sizes for one item and want to change the order they are displayed in, you can use the Sequence tab to do this (1 = First)
2. Assign it to the item
This can be done easiest through the Menu Editor.
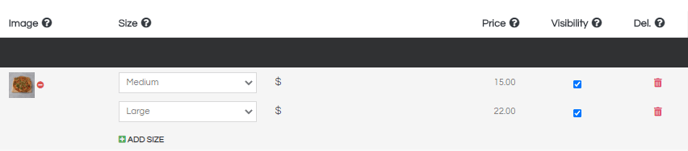
You can search for the item in the Menu Editor by scrolling down your menu or using the search bars for either its Price Level or the Menu Section it lives in.
If there is only one size for the item. You do NOT have to add a size to it. We only recommending adding sizes if you have multiple sizes of the same item.
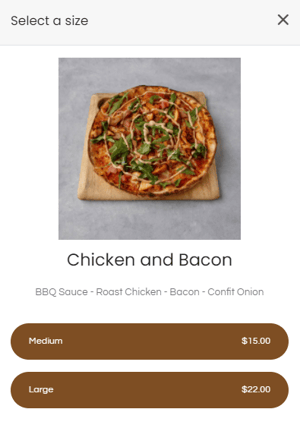
When customers order it through your Stores website, it will present like this.
3. Assigning different Options to different sizes
Have certain options available for a Large that aren't available for a small? You can apply different sets to each the same way as you would do before.
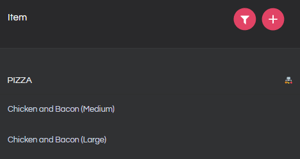
When searching for the item in the backend, it will now list the item twice (or three, four, five times) with the size in brackets next to it.
You can click into each size individually and assign your Option group, plus groups and minuses.
Want to learn more or have feedback for us? Say hello!
💬 CHAT: Chat with us online! You can find our ChatBox, 'Dave' in the bottom right-hand corner of our website.
📞 PHONE: AU +61 3 7036 0754 / NZ +64 4 831 9400
🗒️ Form Submission: https://help.hungryhungry.com/kb-tickets/new
✉️ EMAIL: help@hungryhungry.com